Photographing Water – Part 1 Waterfall Photography and River Photography
Water – photographers love it… and for good reason. It seems to make any scene more interesting with its movements, highlights and reflections. It generates its own atmosphere, shapes the land around it, even its own weather.


So you want to get those great shots, but the pictures are looking a bit flat, they just seem to miss the mark. You get the feeling that those photographs in the magazines were shot in some special expensive and distant place or they must take thousands of dollars in camera equipment.
Not so. It is just that different bodies of water have different tricks to getting the core “feeling” or “essence” down on film. There are only three things you really need. 1) a camera (film or digital) that allows you some control over the shutter speed and exposure, 2) a tripod. This is essential. The water should move, not the camera. Any scene worth photographing will require a steady camera, and most need a shutter speed longer than you can hold by hand. 3) a bubble level. It is not essential but it is highly recommended. Lakes, ocean, and even narrow streams always are perfectly level. If your camera is even slightly tilted they will give you away every time.
Rivers and Waterfalls – This is nothing new for the advanced photographer, but for the amateur looking to get some solid foundations for taking better picture of moving water, the long and short of it all comes down to how long your camera stays open. You need to choose a look for the shot. I think of the styles as Drops, Churn, String, Milk, and Mist. The key to this is the shutter speed and you will absolutely be needing your tripod here.
First things first you will need the right light. Check the weather first. If it will be bright and sunny, not a cloud in the sky… forget about the river unless you are going to swim. Direct sun will (almost always) ruin your shot. Even for very short shutter speeds sunlight will combine with water’s reflective highlights and wash them out beyond repair. It will also prevent you from using a shutter speed slow enough to have any control over the texture.
Go to the rivers when it’s cloudy, at dawn, at dusk, or if you absolutely must brave the noonday sun, wait for a passing cloud. A neutral density filter can be a big help here, but they always reduce sharpness, add more surfaces to collect dust spots, and add a slight color cast. There is really no substitute for a good dark cloudy day, especially for waterfalls.
So, you are on the tripod and level. You’re ready to shoot. How do you control the texture and feel of the flowing water in your photos? On to the specifics:

Mist
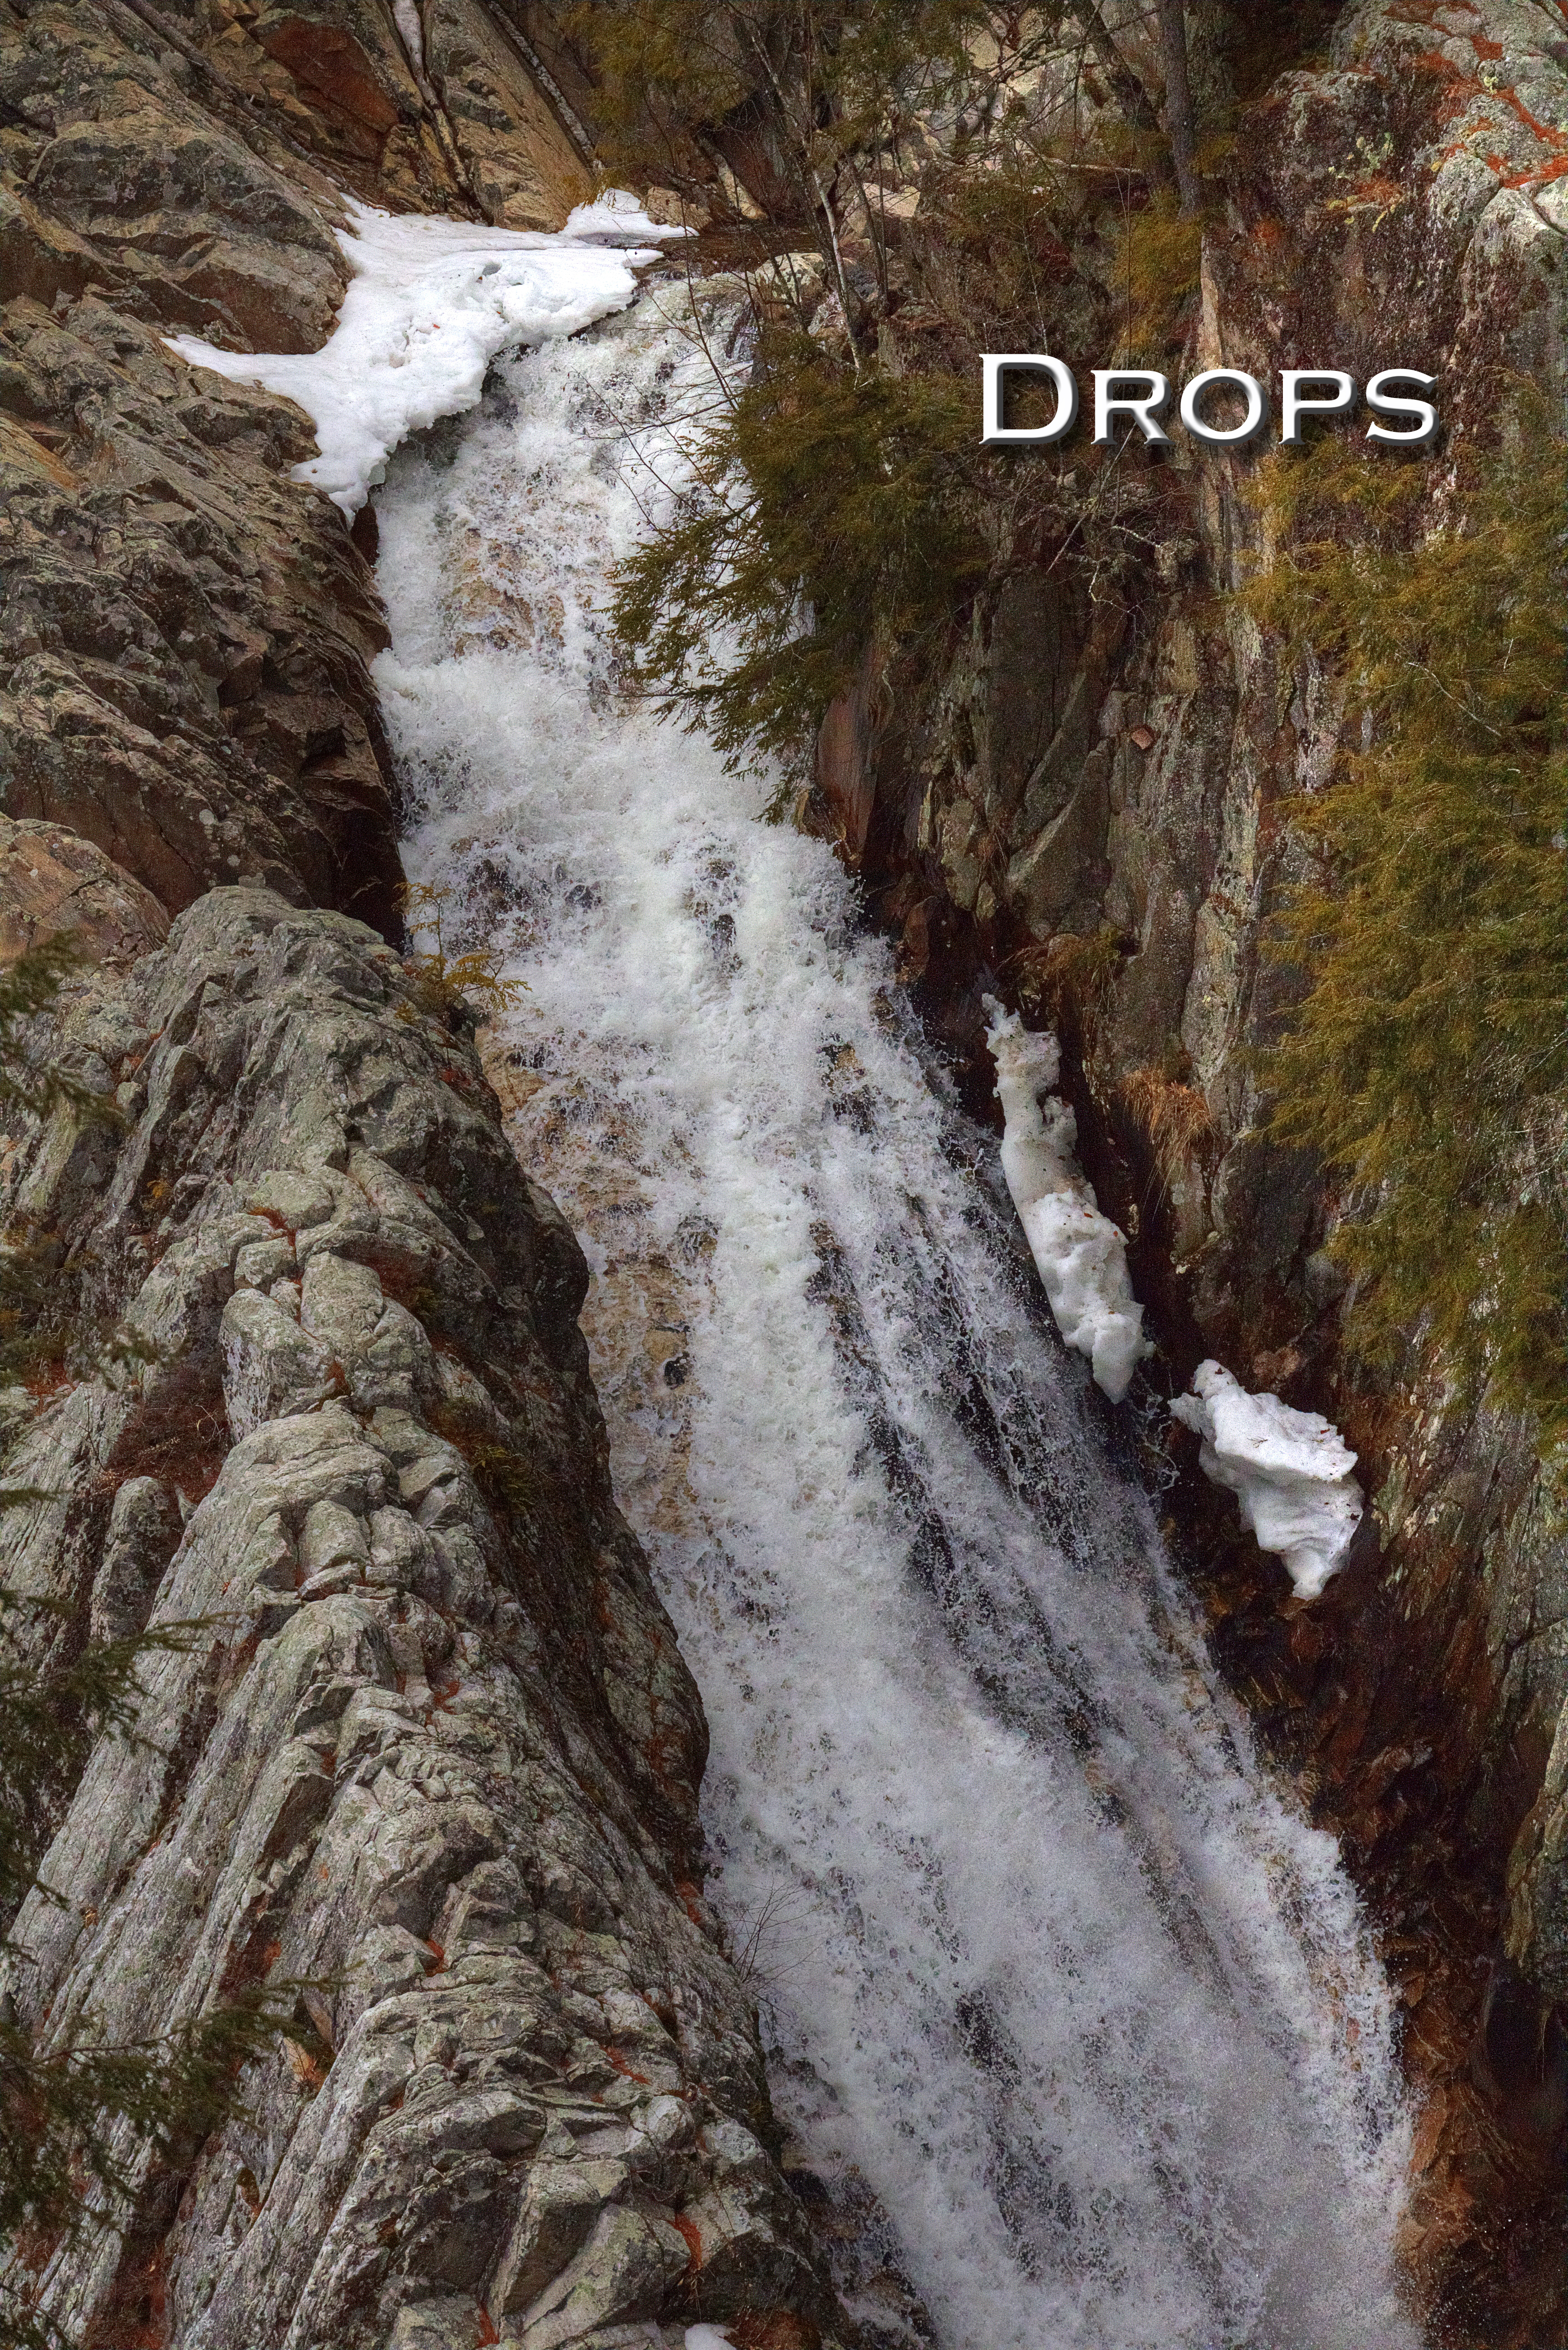
Drops – This will be the only bright-day photograph you will be able to do at a river. Hazy or sun-behind-the-cloud is still best. Shutter speeds of 1/500th of a second or faster will freeze moving water. There will be clear edges and a well-defined shape to individual drops of the wet stuff. There are also clear and sparkling highlights on them.
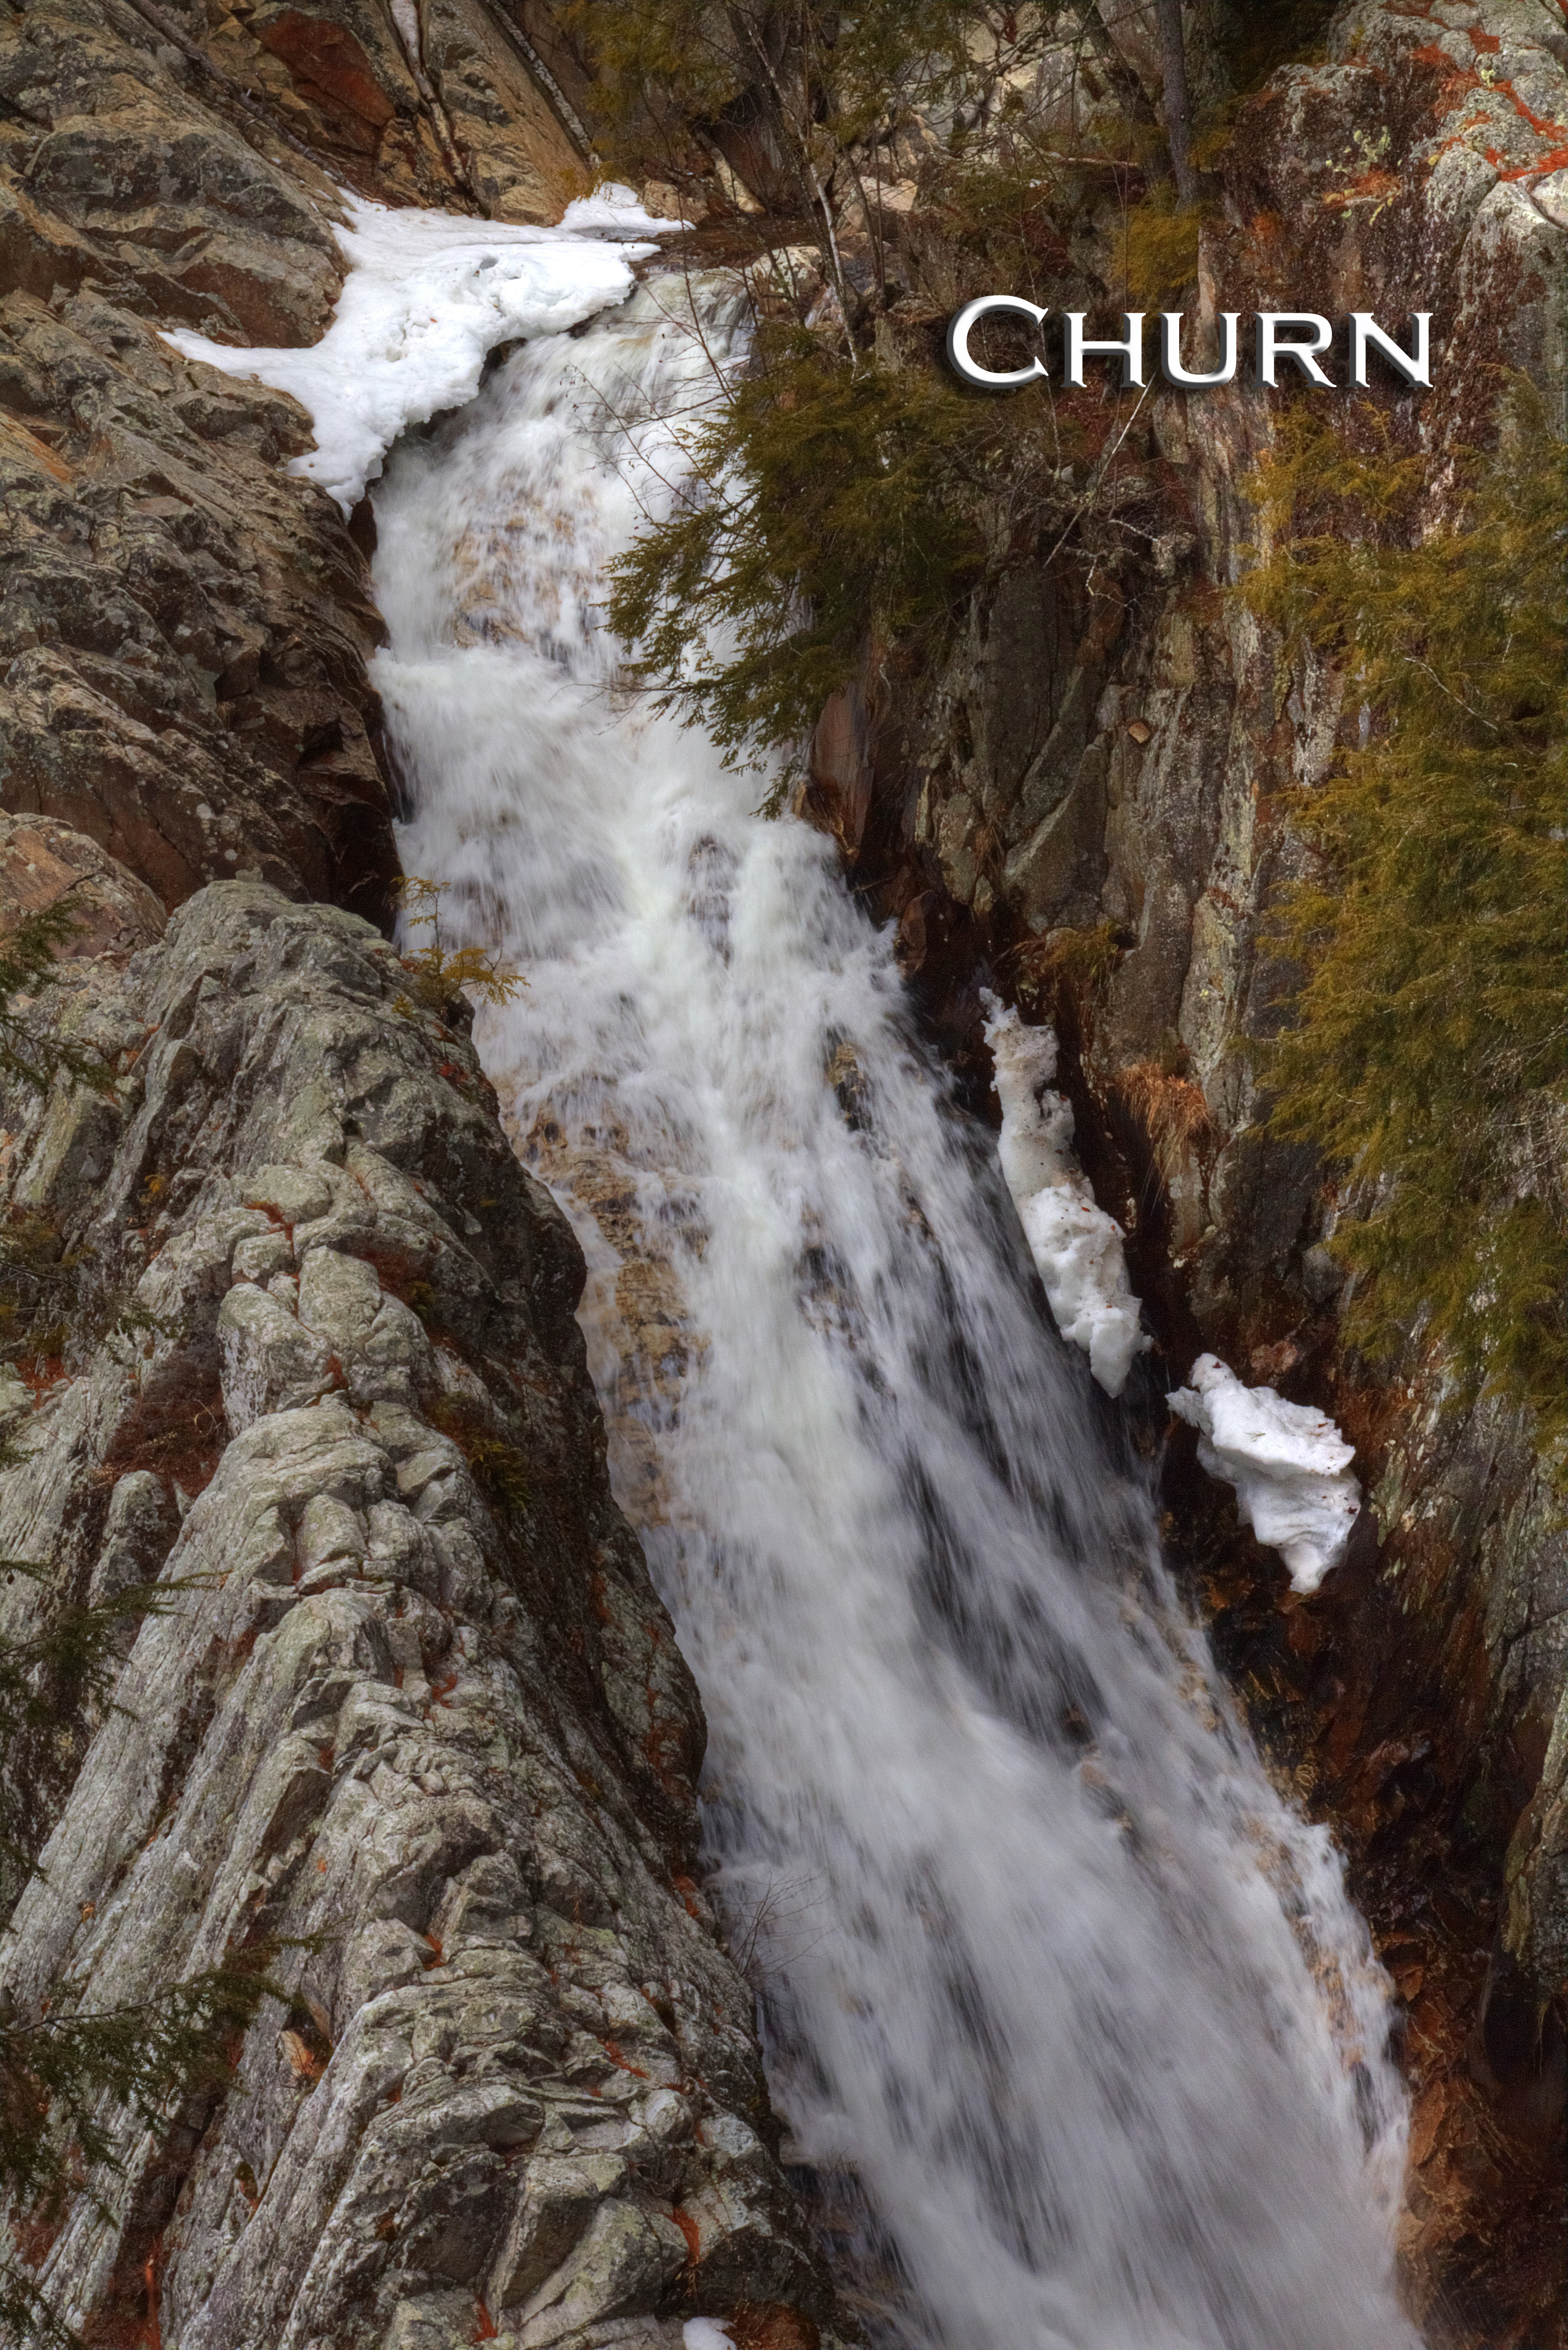
Churn – 1/30th of a second to 1/125th of a second still gives defined edges to give the feeling of movement and splashing, but the drops combine into waves and foam with less distinct highlights.
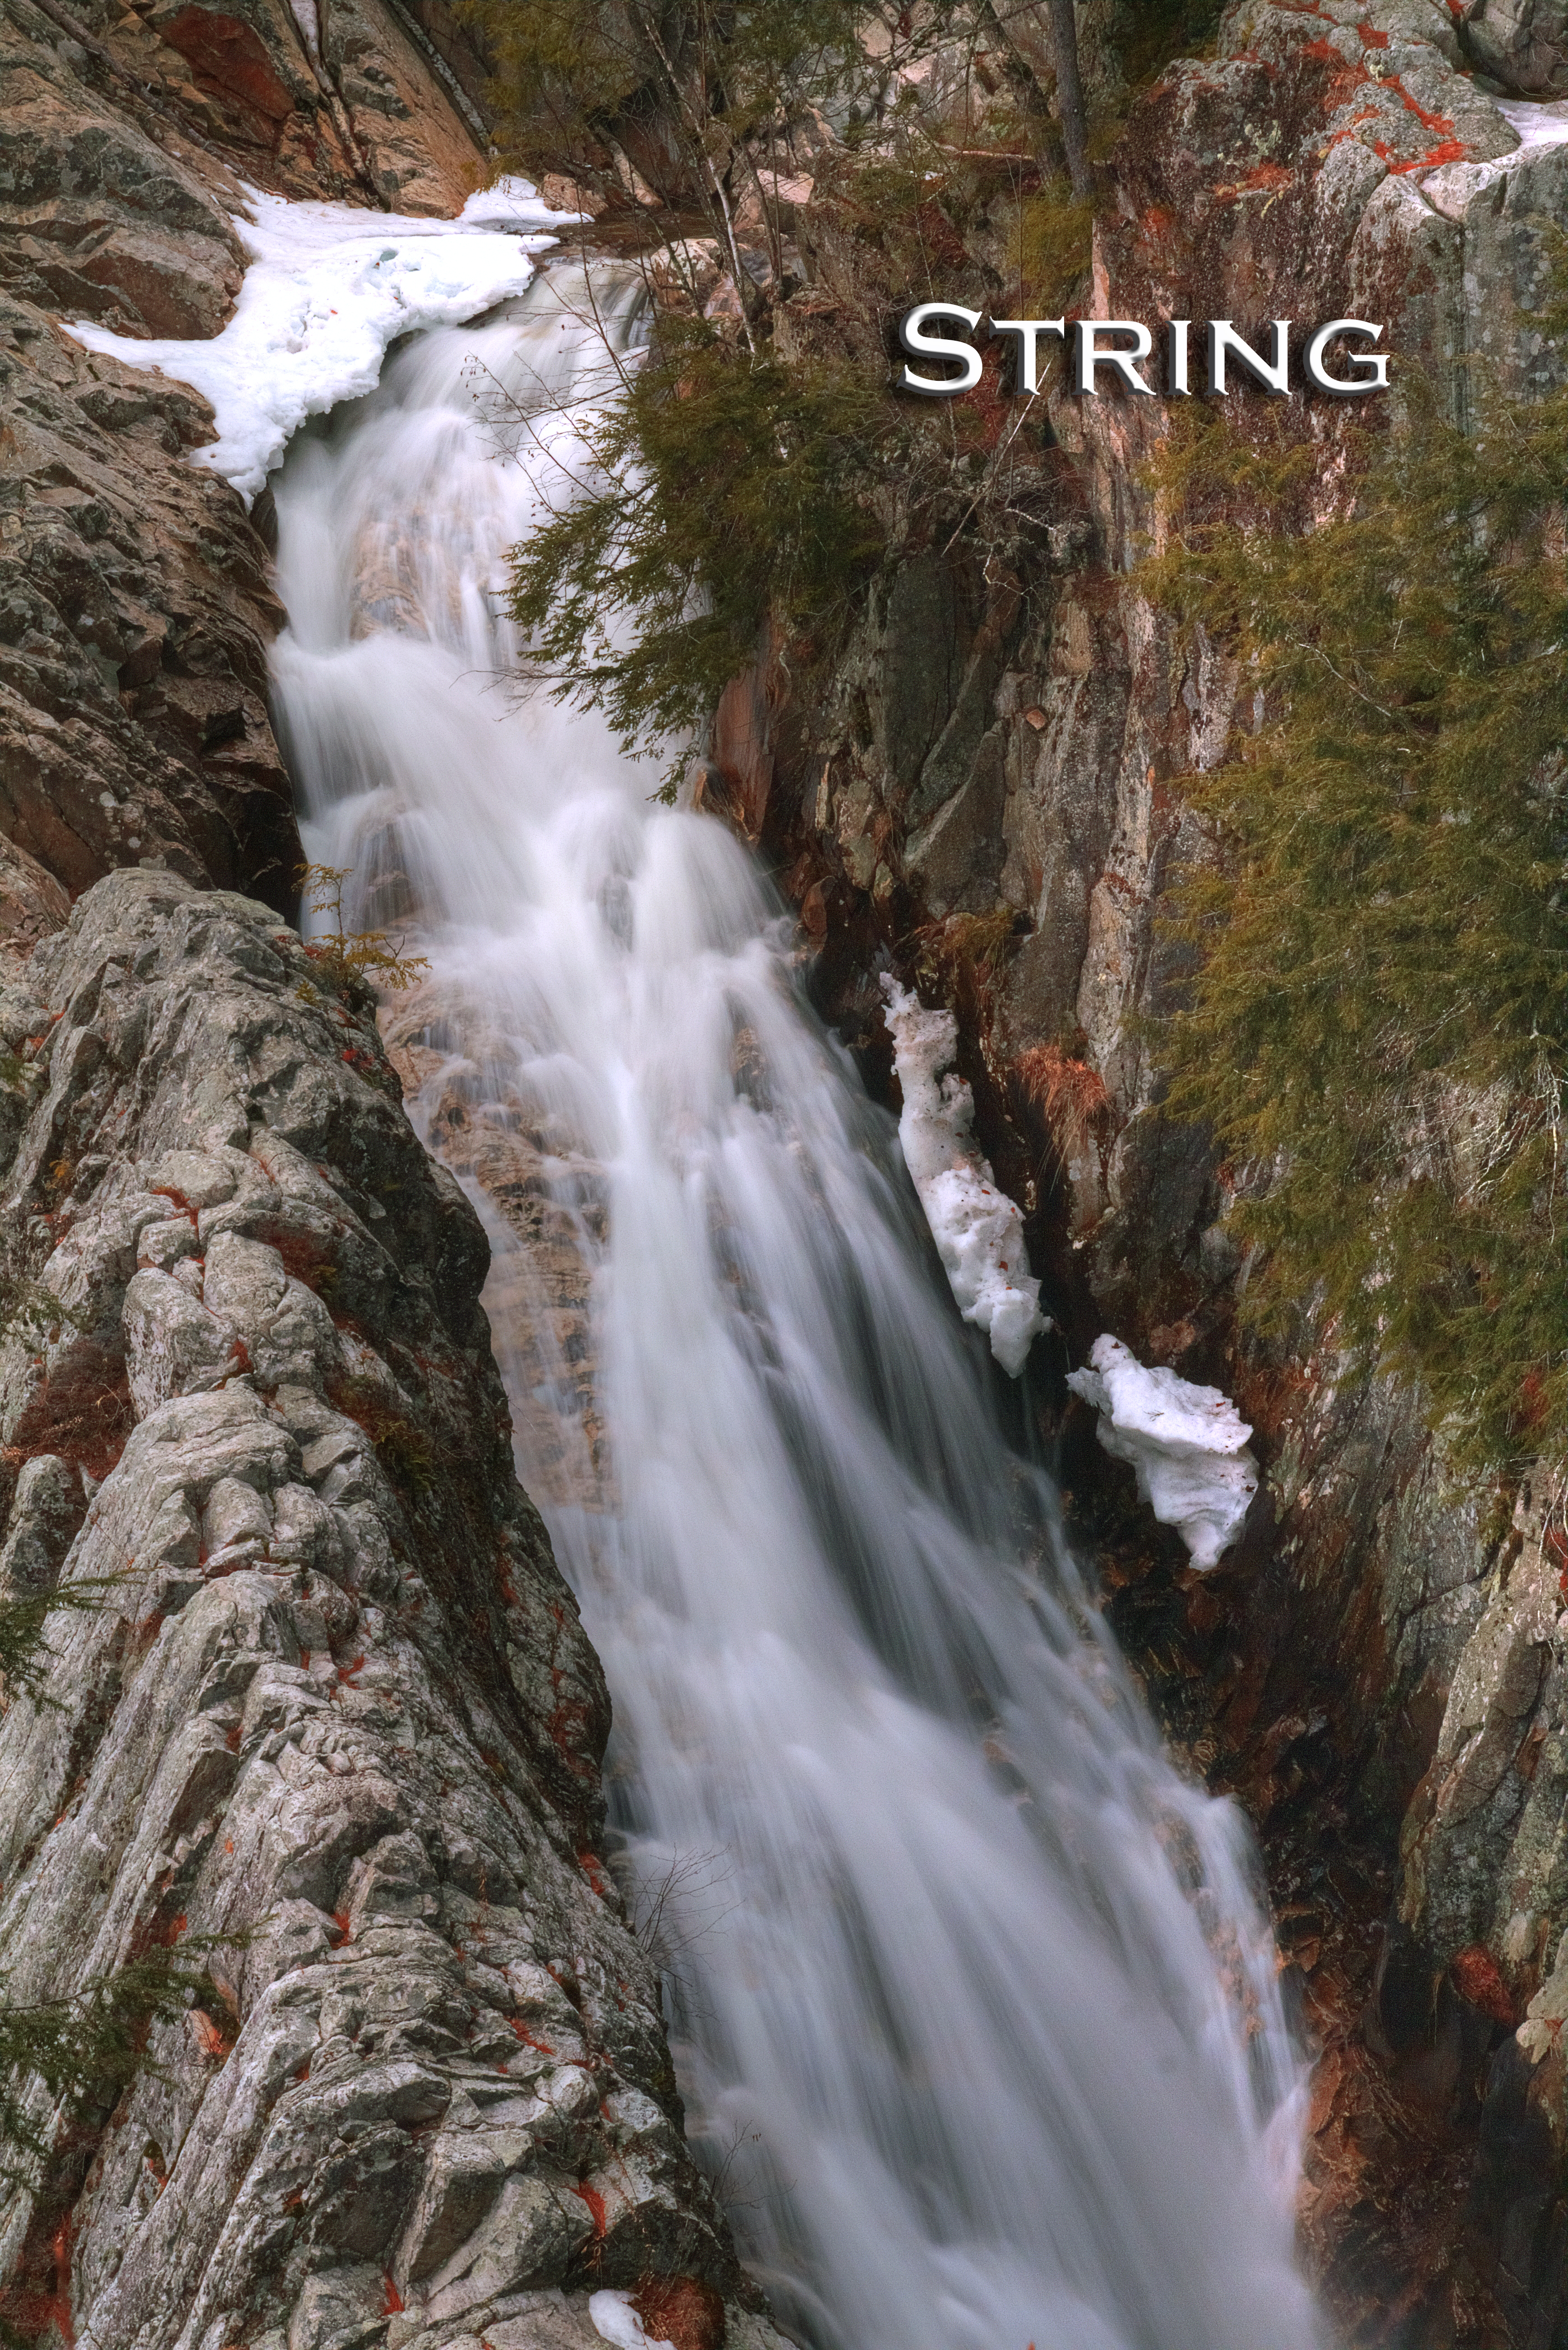
String – Splashes be come flows at shutter speeds between a half and 1/15th of a second. For waterfalls the movement of the water draws-out into long strands almost resembling string.
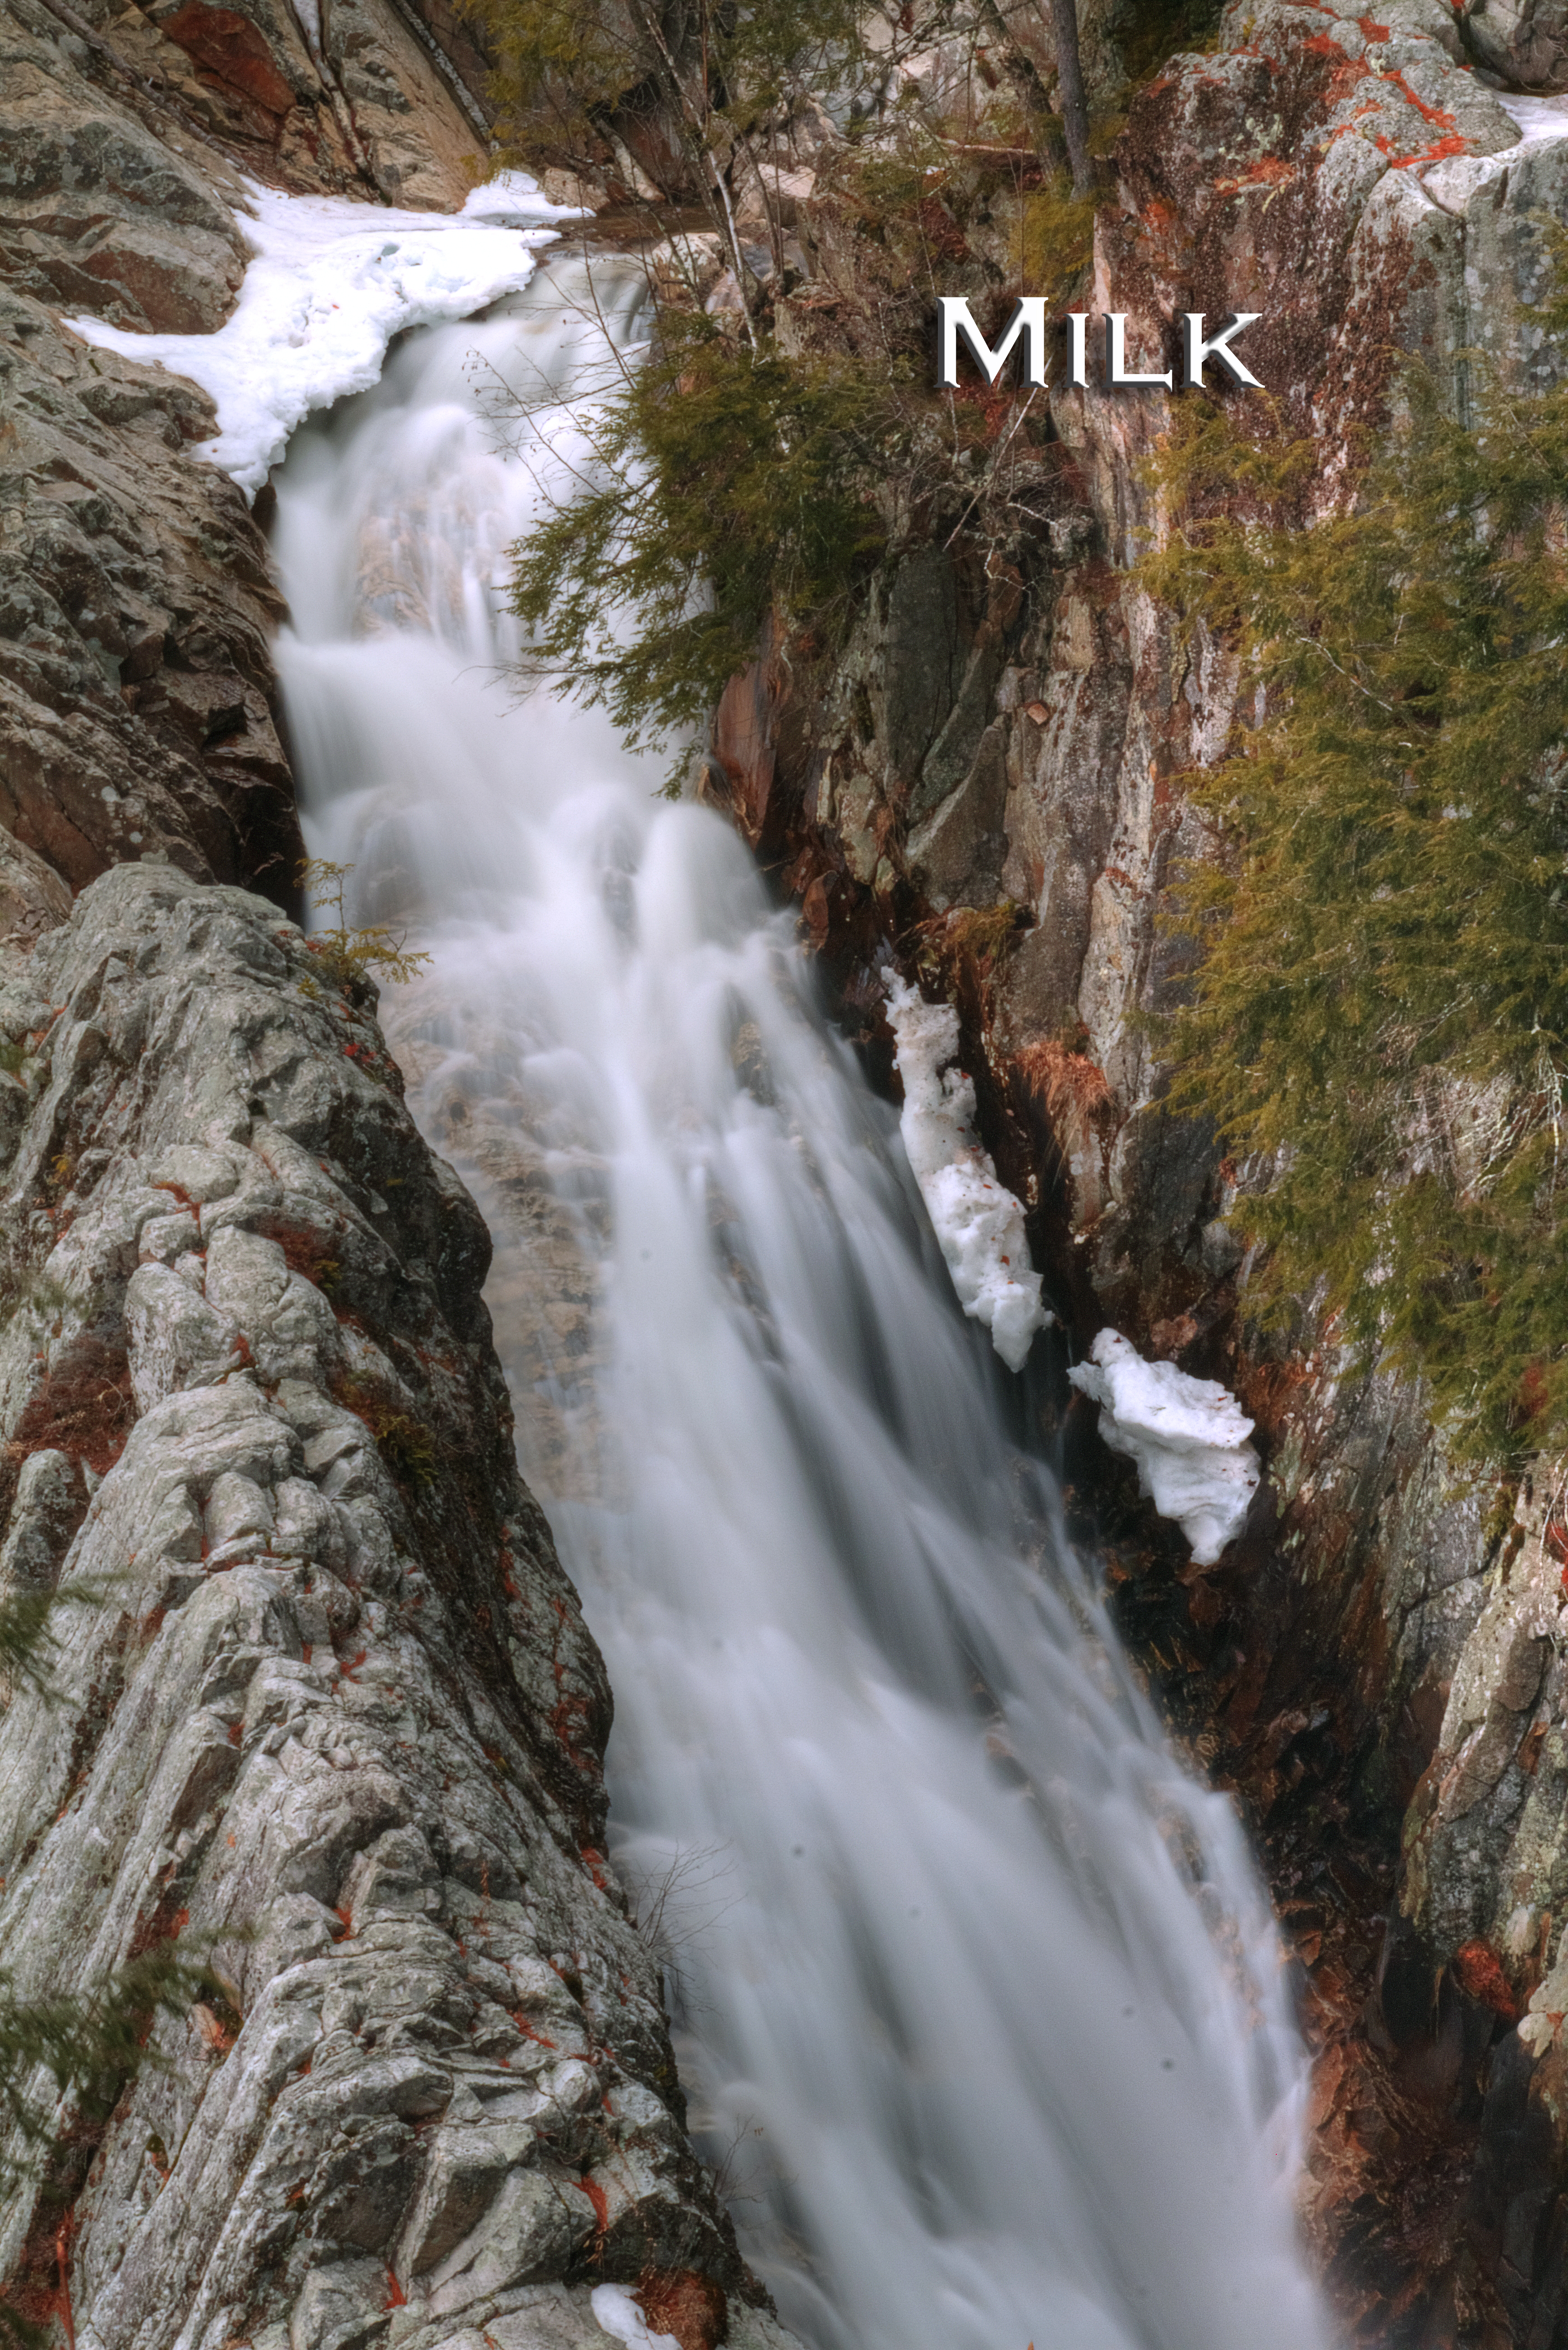
Milk – at about one second to five seconds with the shutter open flowing water gets a milky feel. This is especially popular with scenic waterfall shots. Those expensive far-away looking shots I mentioned above are usually nothing more exotic or complicated that this. The only equipment involved is the tripod.
Mist – at shutter speeds that exceed five seconds the water resembles mist. It becomes a bluish white ghosting that hovers above and around the rocks of the river’s bed. Photographers often use those more extreme technique to give a softer or more tropical feel to waterfalls.
Give these a try. If you are shooting with a digital camera why not give them all a try? It will cost nothing but a few minutes of your time and you may get a new and unexpected perspective just by altering that one variable – time. Good luck and happy shooting.
Just a guy with a camera a car and a website, in Vermont, doing what comes naturally.
Really wonderful pic. and your style is so different. I love it