Stop Thinking About Leading Lines (And Start Building Scenes)
If you’re just starting out in landscape photography, you’ve probably heard all sorts of techniques standard advice about composition such as look for leading lines, use the rule of thirds, shoot a scene instead of a thing. All good advice. But nobody explains how to actually get there. How do you go from spotting something cool to building a scene with real compositional depth? That gap is what trips most beginners up. Let’s take leading lines as an example.
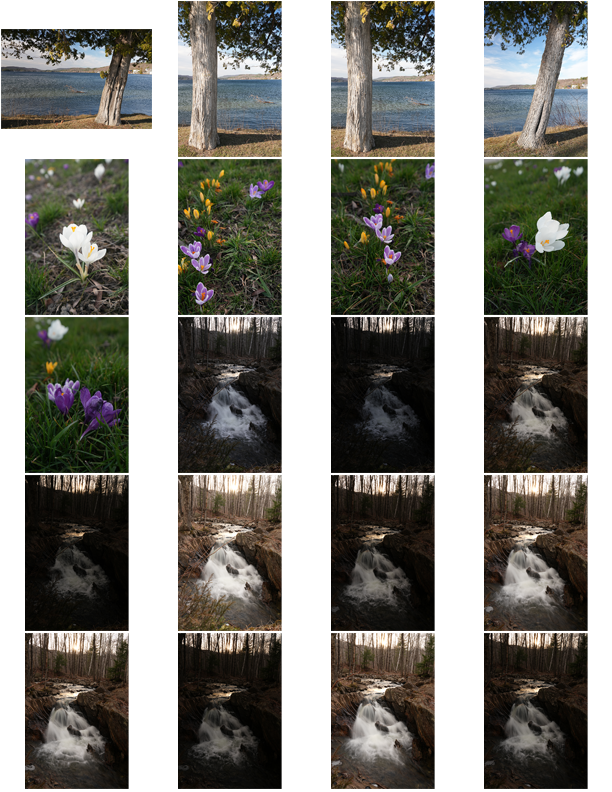
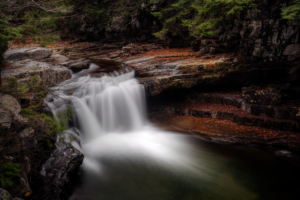
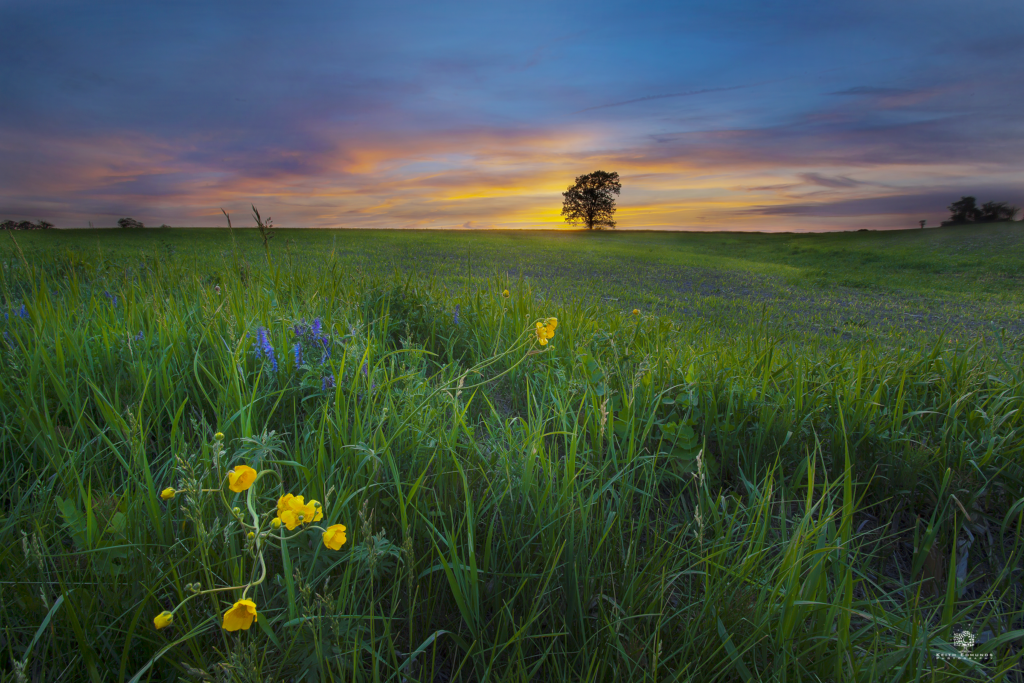
You don’t jump straight from driving around looking at barns and clouds straight into looking for leading lines. Describing it that way is working backwards from the finished result, and it skips a few important steps. When I’m out shooting landscape or nature, it starts the same way it does for everyone: something catches my eye — a great sky, an interesting building, a tree. I don’t go looking for a composition. I look for good scenes, good sky, good light. Now I’m not talking about the simple obvious situations where you pull up to a spot where you have plowed lines in a field, or a road, or a fence leading off into the distance. Those are easy. The lead photo in this article is just such a situation. The lines in the field were just there already doing the leading before I arrived. Most any photographer can put the obvious leading lines to use. You happened to have found a subject that made it easy for you. Chalk that up to luck and put the obvious lines to good use. I’m talking about situations where there are no obvious lines in the scene but you’re looking to organize the seemingly random things in front of you into a composition.
Step 1: Put Something in Front of Something Else
Where leading lines actually begin for me is with the simplest possible move: I try to put something in front of something else. A great sky needs a foreground — a barn, a tree, a reflection, whatever is available. So you’ve got a sky that you really like or snowy mountains that will make a good shot. What’s your next step? Go looking for a subject to pair with that background and make an actual photograph rather than a picture of a cool sky. Your aunt Suzy is already out with her phone taking pictures of just the sky. To be a decent photographer you probably want to move beyond that. Find a subject (a tree a building, a lake) and put it in front of the sky. Frame a simple version of the scene with both things and take your first shot before you lose the light. Get the first frame off and then start moving… check the angle.
A side note on exposure – Decide whether you’re exposing for the subject or the sky because these are sometimes radically different pictures. If you want to get both search for a compromise. If you can’t find a balanced in-between exposure then expose for the sky and try to lighten the shadows in your image processing software when you get home. You can always pull detail out of the shadows but it’s impossible to recover data from a sky overexposed by just a few stops. Best case is if you are able is to bracket exposures (two or three exposures without moving the camera) and combine them later — that’s where a tripod or the auto-bracketing setting on your camera comes in, but we’ll get to that in another lesson. For now just worry about the composition.
Step 2: Add a Third Element
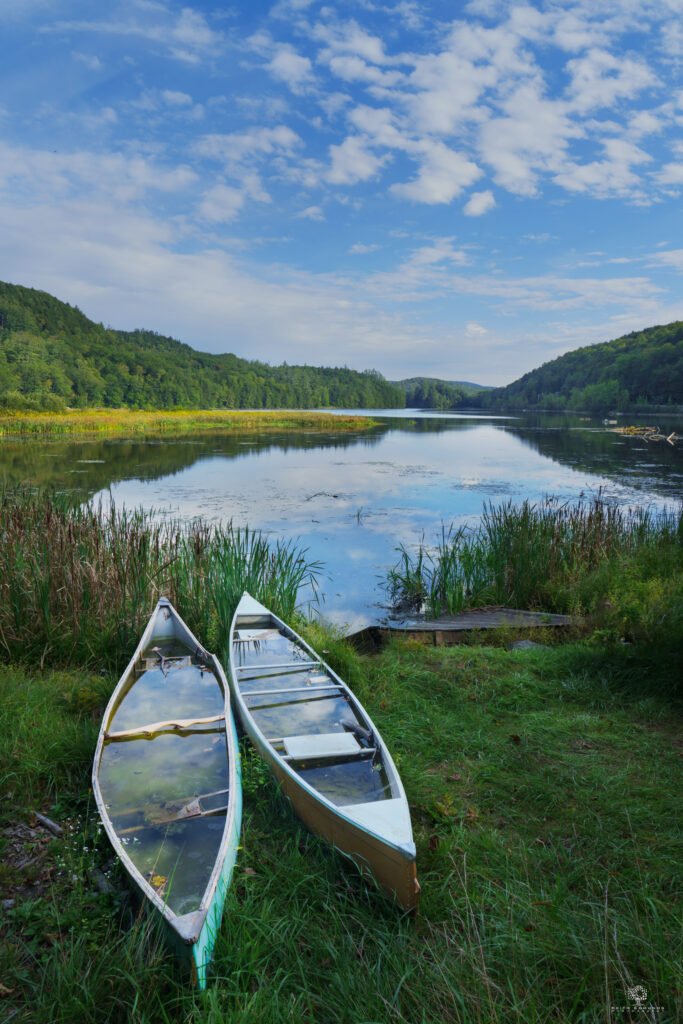
Once you have the two-thing shot in camera, a good subject and a good background, then you’re ready to repeat the same process by adding a foreground to the picture. Look for a third thing to place in front of that thing you just put in front of the sky. See if you can use it like a frame around the whole scene, or across the bottom of the whole scene. Look for a row of plants, a stone wall, shoreline vegetation. If you’re working with a reflection near some water then try to include some plants or trees on the near shore. Step back or get the camera low enough to bring them in. Now you have three layers: foreground, subject, background. You’ve moved from shooting a thing to actually shooting a place. Take some more shots and move around looking for better angles.
Step 3: Now Let the Technique Emerge
This is where you can start with the “brain work” — the part you probably thought was the place that pros start with. Instead you work your way up to this. Can you position the camera such that the objects nearest to you form lines (straight, curved or like a series of stepping stones) that lead the eye toward the subject or the background? If your new foreground is something in a row (a stone wall, a line of plants, a low ridge) does it lead toward your subject? Can it lead toward your subject? If you moved closer to one end, would it create a line pointing at the subject or the sky? This is how you get leading lines.
If you can’t make the lines work, then let them go for this scene, they are just tools to help, and not the main point of a good photo. Maybe instead think about another technique like the rule of thirds — and this doesn’t have to be precise either. Keep whatever composition you are already working on as-is, but try shifting the subject off-center: right, left, up, down. Look through the viewfinder each way. Don’t force it. Just push the subject a bit off center in any of the four directions and you’re using the rule of thirds without even thinking about it. While you work through this “stalking” of the scene, pay some attention and consider whether the frame works better in horizontal or vertical.
The Key Takeaway
You didn’t have to plan these compositions from the start. They built themselves from a basic idea as you were working. In this case the basic idea was putting something in front of something else and then moving around. Simple process leads to great results. In time, as you gain more experience, the possibilities may come to you naturally while you’re still scouting. But they don’t have to start that way. They start from putting one thing in front of another and maybe a third thing in front of that. Stop the car and put something in front of that great sky. The sky alone won’t make a finished composition — it’s just the same sky everyone else is looking at.
A Real World Example: Colton Pond at Sunset
Earlier this week I headed out on a warm, partly sunny spring day. A good sunset was looking likely and I was hoping to catch a reflection, so I headed toward Vermont’s lakes region near the New York border. The land there is open and relatively flat though and the wind was too rough to get a clear reflection, so I decided to move on. Killington has some ponds though that sit just on the back side of the Green Mountain range and tend to be more sheltered. I reasoned that Colton Pond was the most tucked-away and would have the calmest surface. It turned out to be perfect… smooth as glass.
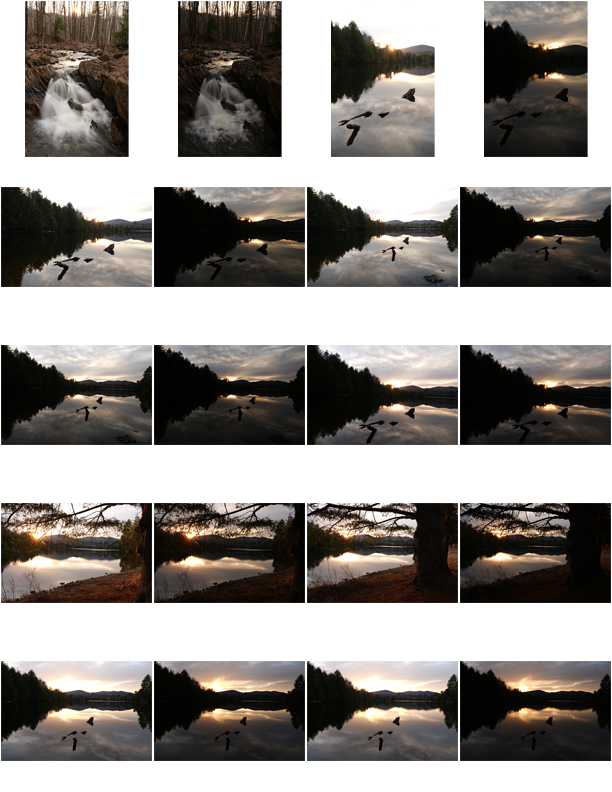
Once the sunset started, I could have stayed with a “two-thing” shot, the sky and a simple reflection.
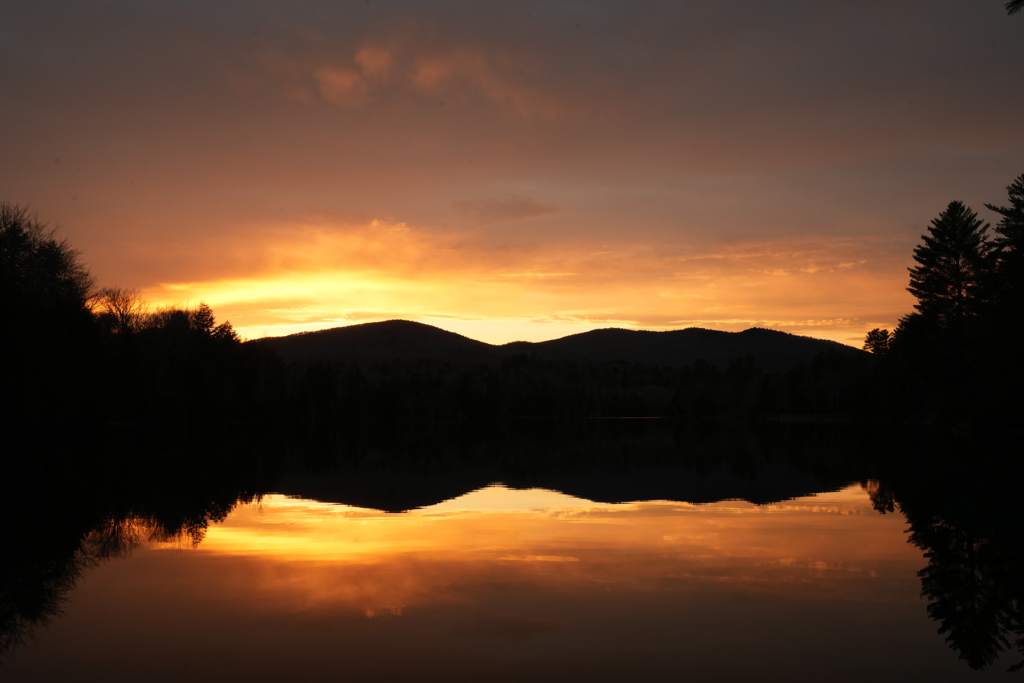
That’s a decent shot, but it’s static. It’s nothing special. The sky is doing all the work and the reflection makes in interesting and a photographer can’t take much credit for that. However I have shot here many times before and knew I could find something for the foreground. One end of the pond has fallen branches and whole trees in the water and partially out of the water near the shore on one end. My thinking at that point wasn’t about leading lines or rule of thirds — it was just thinking to start with step one and put something in front of the sky and reflection.
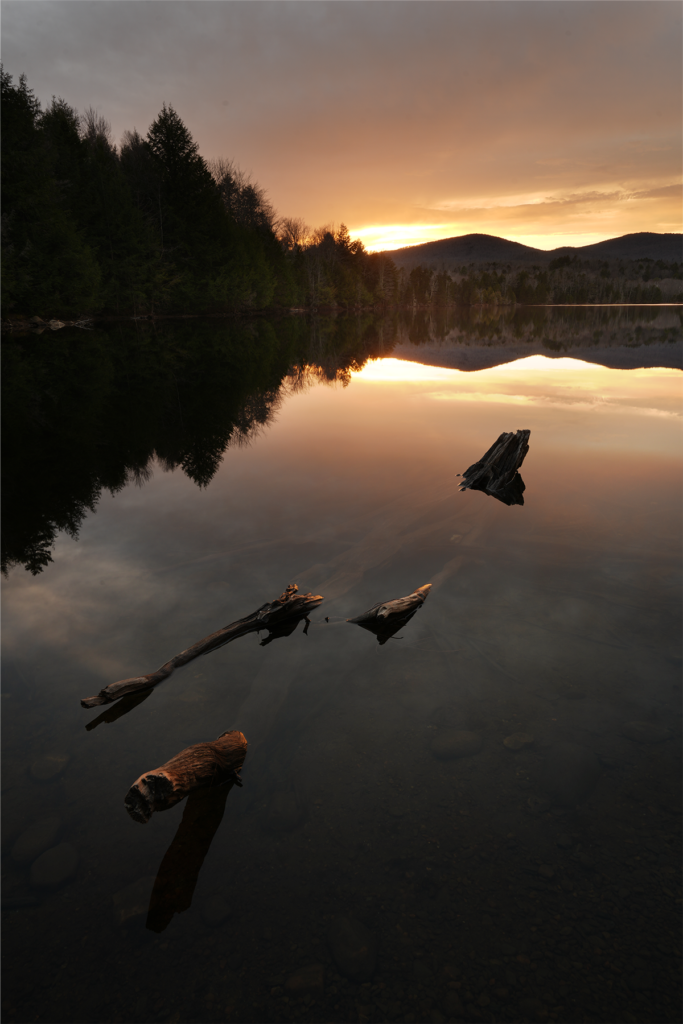
This partially submerged log was close to shore, so I could get right up on it. It created leading lines on its own. Better than the previous shot, and I wasn’t trying for that at all… just trying to have something in the foreground.
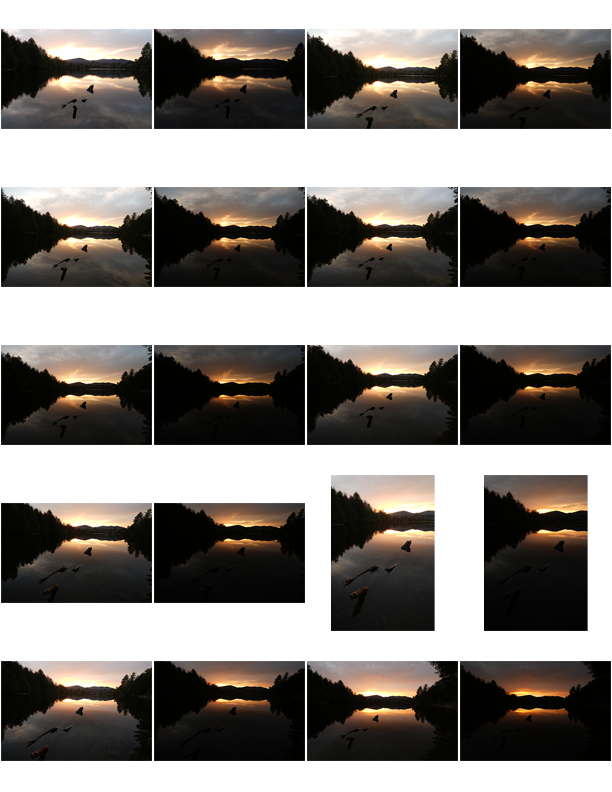
As the sunset developed I kept working different compositions and angles — some vertical, some horizontal, some with my regular lens and some wide. The vertical shot of the log was a solid shot. If that was all I could come away with before the light faded I would have been totally satisfied, but it still feels empty on the right side. Going wide and horizontal started to pick up the treeline on both sides of the pond.
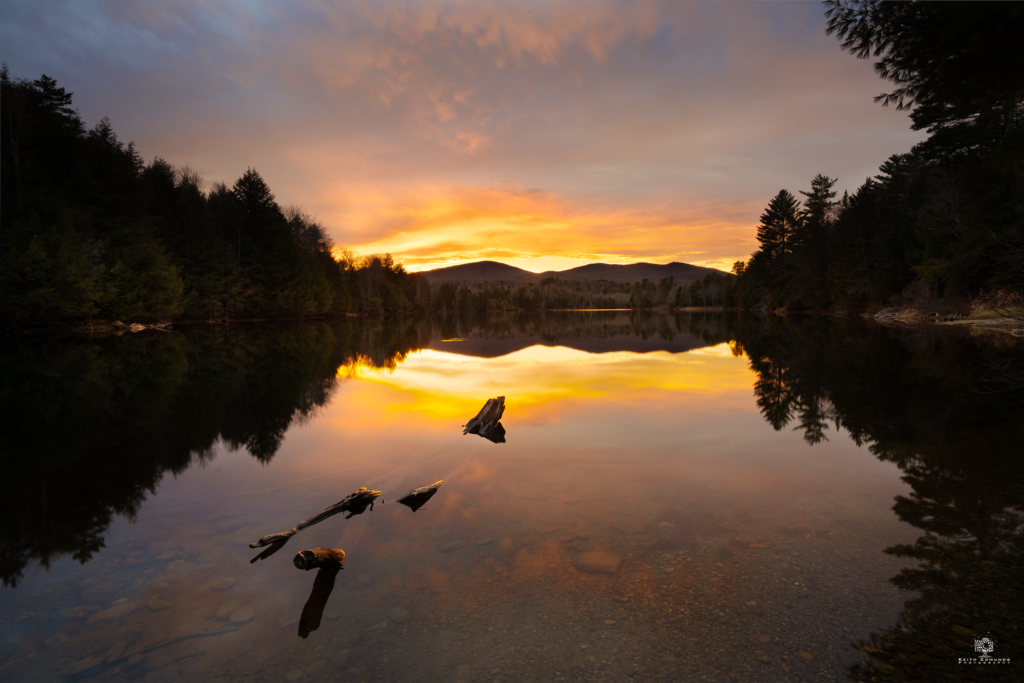
You could think of those trees as adding a frame, but they also form a large dark X, with four leading lines converging toward the center. I wasn’t looking for that when I set up the shot, but as I zoomed out further with each shot they became a more important part of the scene. You’ll also notice that in the previous frame, the log made a more dramatic leading line than it did in this image — that’s because I was physically closer to it. The closer you get to an object, the larger it appears relative to the rest of the scene, and the more you exaggerate depth. The same principle applies to your lens: a wider angle exaggerates depth more. Both shots were made at about 16mm, but getting in tight on the log spread it across a much larger portion of the foreground.
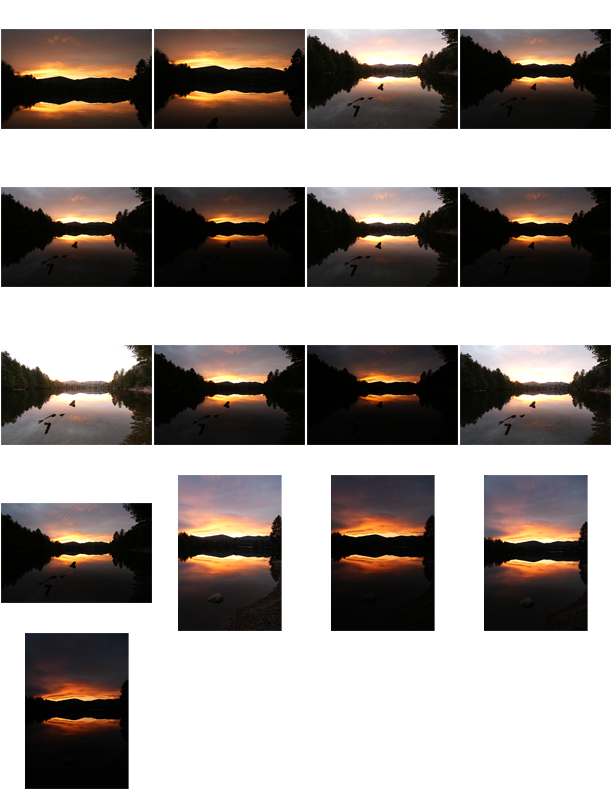
I put something in front of the sky (a reflection), then found something to put in front of that (the log), and the shot built itself from there. I moved in and out, left and right, vertical and horizontal. A lot of the frames were nearly as good. Some used the rule of thirds without me trying. Instead my final pick used symmetry (up, down, left and right all equal) and used the dark leading lines instead of relying on the rule of thirds. But you can shoot it both ways and which you prefer is a decision you can make at home when you’re reviewing the takes.
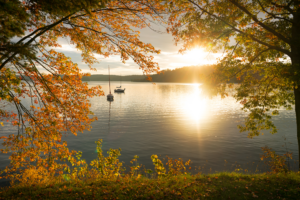
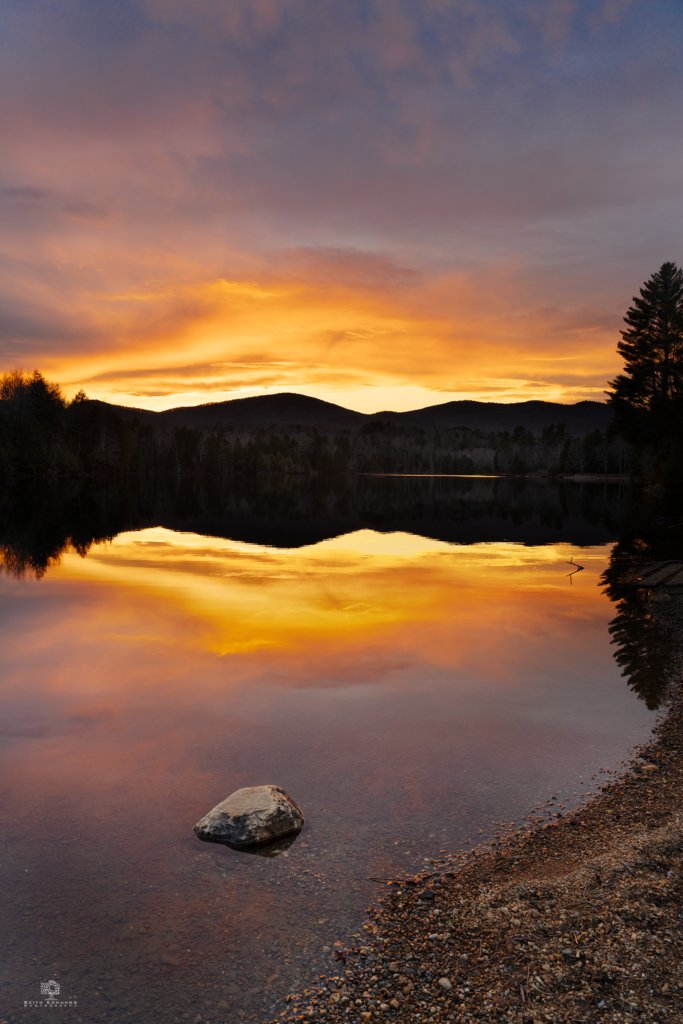
On my way out I got a bonus. One more example of how foreground placement works, even when there’s no formal leading line involved. Heading back to the car with the light fading fast, I stopped for a few last frames from a different angle by the parking area — but I still made a point of including something in the foreground. A simple rock was all it took to pull the eye in, up the shore, past the trees, through the reflection, and into the sunset. My shot with the converging leading lines that we just examined in previous paragraph is the stronger image to me, but this one still works — and it actually got a bigger response on social media.
In summary that’s easy way to build a composition: don’t start with the technique, start with creating layers, as long as they aren’t too ugly and busy. I also think it’s the most natural way to work toward better photography. You don’t know in advance which composition will work the best so build it working up with a simple rule like adding things to the scene or in simplifying by removing distractions from the scene (we’ll get to that one later). Simple shapes work best. You want something that adds depth without being all wild and distracting. Put something in front of something else, then find a third element, and let the scene come together. The techniques — leading lines, rule of thirds, framing — follow naturally once the scene is built.
In the next post we’ll look at the other side of the same coin: simplifying a scene by removing elements rather than adding them.